***PLEASE READ THIS ENTIRE PAGE BEFORE PROCEEDING***
How to Flash Your Polaris RZR, Ranger, General, Ace with the VR Tuned iFlash
Those with Dynamix and Ride Command – you need to unplug these modules from under the dash before you start the process.
These instructions are for OBDII flashing your Polaris ECU by VR Tuned. For any questions in regards to the process, please email our support team.
Getting Started: Once you receive your VRTuned Flash Cable Kit, follow these simple instructions to begin your ECU flash process. If the instructions are not followed, you could risk damage to your vehicles engine control unit.
Required to flash: Our VRTuned OBDII flash client is pretty simple and direct. These are the things you will need to flash your vehicles transmission control unit through the OBDII port.
- Flash Cable – This is included in your VRTuned Flash Kit. It uses a mini USB to standard USB cable that plugs into your computer.
- 16Pin to 8Pin OBDII adapter.
- Flash Client – The software application that allows you to read/ID and write via your OBDII port. This is program is installed like any program on your computer as a .exe file. The software is available on the download link below.
- Computer – You need to have a computer to install the flash client and connect the USB cable to. This can be any PC and we have heard of Mac’s working if booted up as a Windows machine. Because you need to connect the cable from your car to your computer, a Laptop or Tablet is required and should be plugged in while doing the process.
- Windows XP will not work
- Windows Vista, Windows 7 are acceptable and there are no RAM requirements. Each OS does install drivers differently so if you encounter a problem, please contact us.
- Windows 8 and 10 no longer need the driver deactivation done (5/31/16)! If you have a issue with the driver, you can download the driver separately here or follow the old driver deactivation process here – (CLICK HERE for tutorial).
- Battery Charger – It is highly recommended to have a battery tender or battery charger on the car during the read and write process. We recommend this for those that don’t drive their vehicle regularly or may have a battery with low voltage.
- Email Address – Once you read out your car, you will need to send us your file (CLICK HERE UPLOAD YOUR FILE). We will then return your tuned file to this same email address unless otherwise specified.
- Internet connection is NOT required. We do recommend turning off any virus protection, screen savers, and closing all other programs during the writing process. Please make sure to disable ANY antivirus software and screensavers for the reading out and flashing process.
- And…. of course, the Software – Download Here
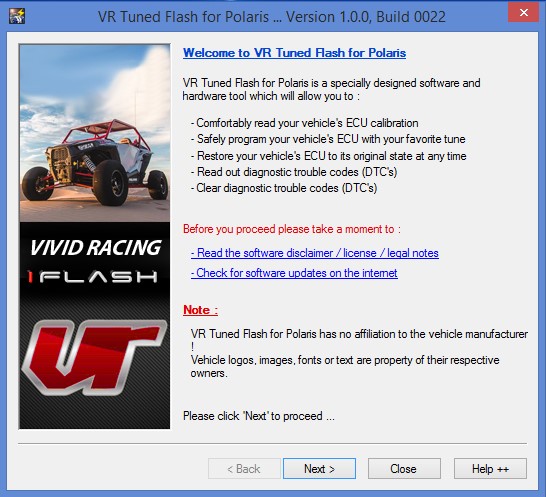
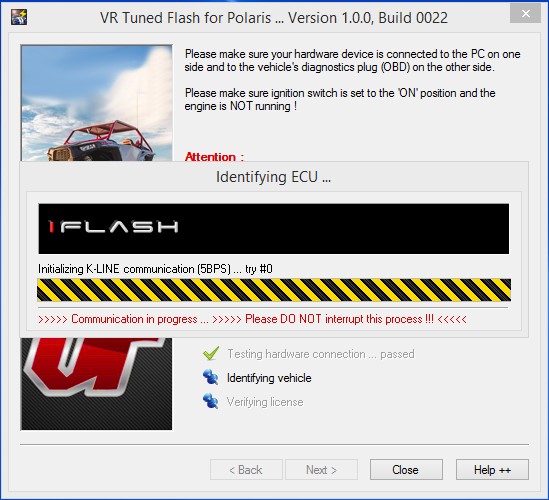
Step 1 – Launch the program and with the cable connected to the vehicle and your computer, follow the prompts.
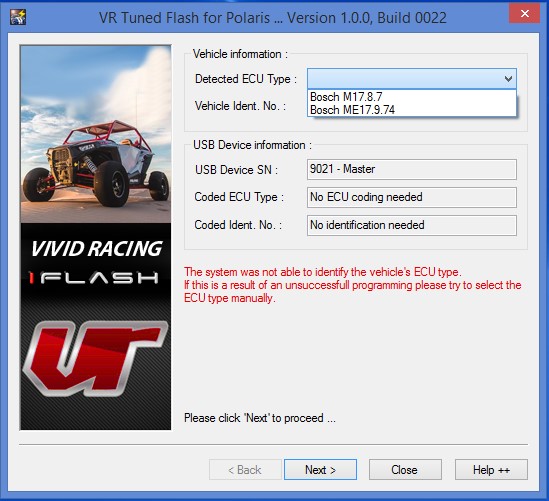
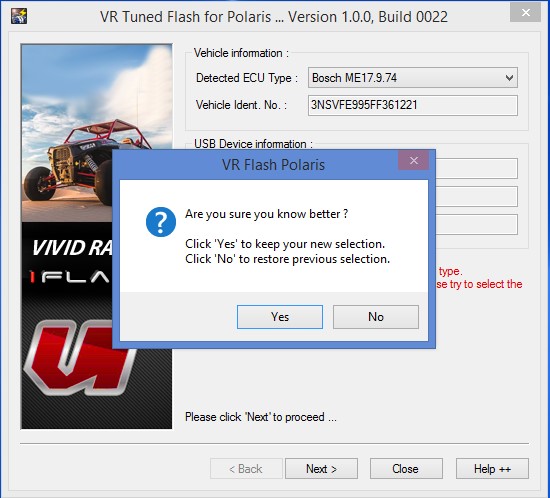
Step 2 – Choose your ECU type. Most ECUs for the 2014+ Polaris are the ME17.9.74. If you are unsure, see the sticker on the top of your ECU. ECU on the RZR is located as seen here.
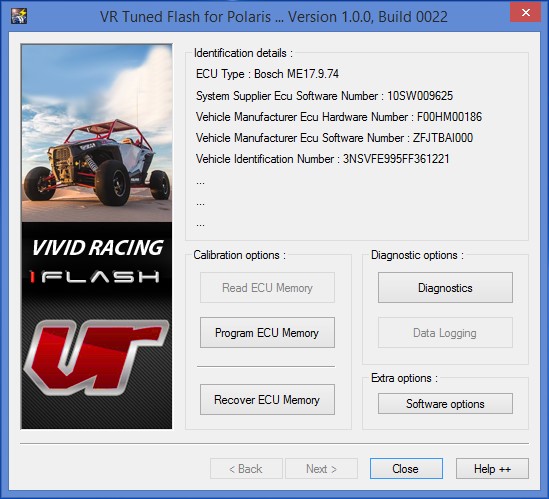
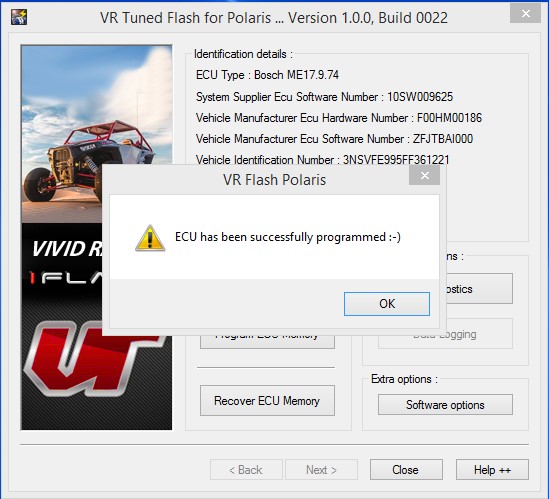
Step 3 – Take a screen shot of this image on your computer ^^^^^. It should show your VIN and software number. Upload that and your vehicle information using upload form (CLICK HERE UPLOAD). At this point you can turn everything off and wait for us to send you back your tuned file. If you have already received your tuned file, proceed below.
NOTE as of 11/8/18: The Polaris ECU can now be fully read out. We still only require and ID as the instructions below. If we need you to do a read out, we will let you know. Connect to your vehicle and go through the prompts. Do a screenshot of STEP 3, then upload that jpg, png, gif, or bmp to us. We will then find a matching software number for your vehicle and send you back a tuned file.
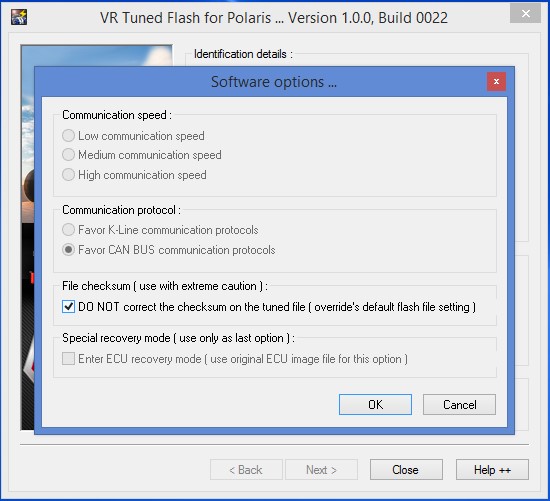
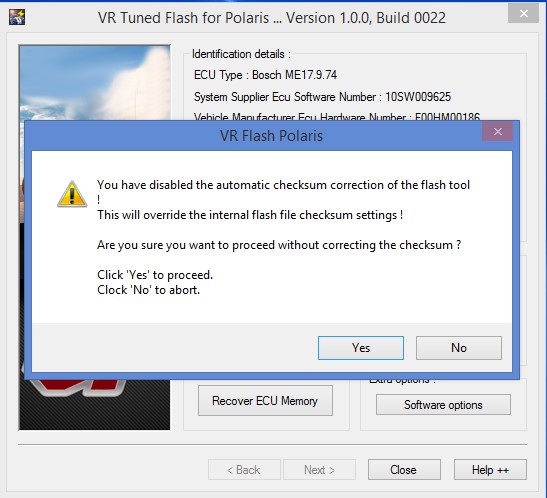
Step 4 – Click Software Options and then check the button that says “Do Not correct the checksum… Hit OK.
Step 5 – Click OK
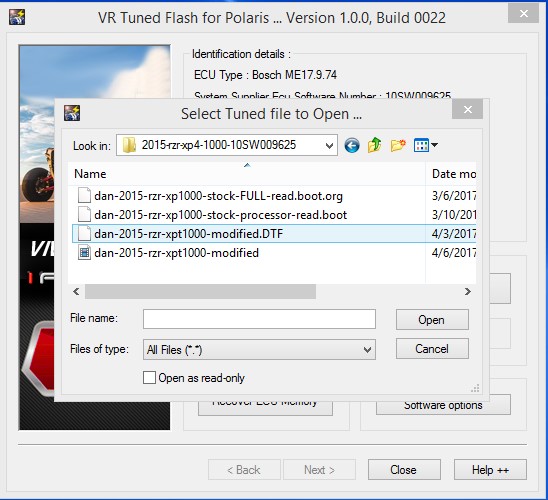
Step 6 – Click Program ECU Memory. Then select the tuned file from your computer where it was saved.
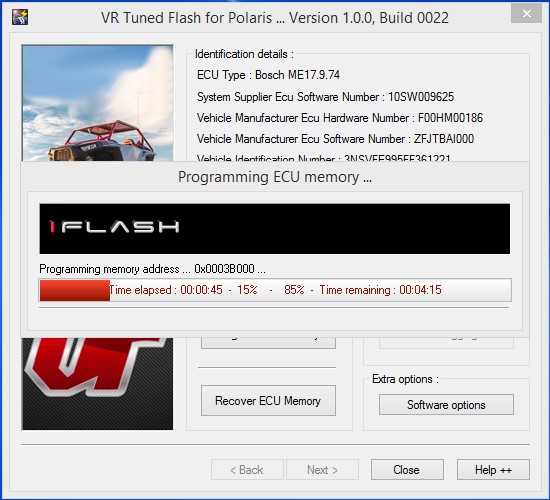
NOTE: If the process stops during programming, DO NOT shut anything off. Just re click Program ECU Memory and select the file again. If this happens multiple times keep repeating this process until the file full programs.
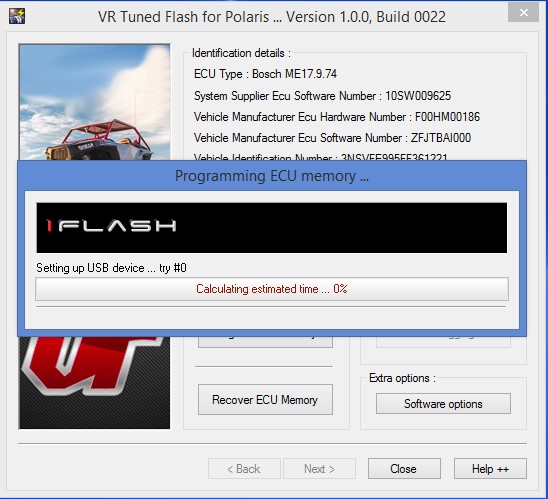
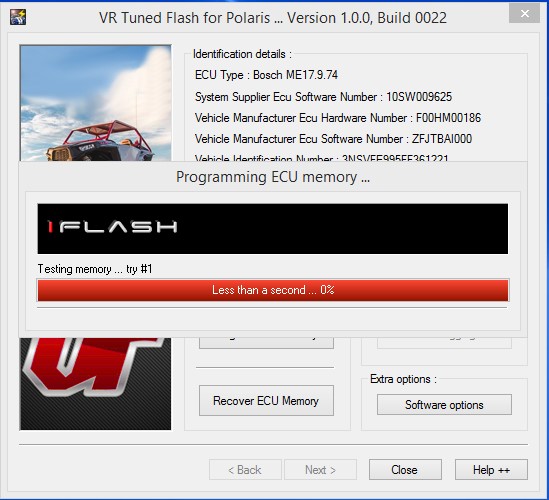
Step 7 – The ECU programming sequence will go through. Do not turn anything off, let your computer go to sleep, or battery die!
Step 8 – Turn your vehicle off and then click the Ignition is Off button.
Step 9 – Your programming has been completed. Unplug everything and start your vehicle.
Videos of Flashing with the VR Tuned


